 Pin it
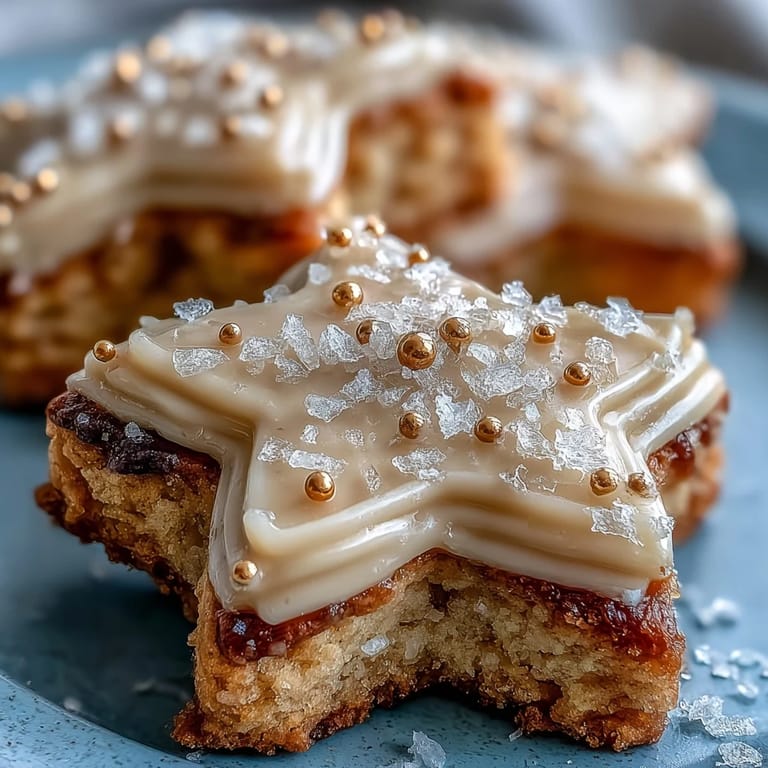
 Every time I make these Gemini Zodiac Cookies, I'm reminded of a late spring afternoon, the sunlight streaming in and turning my kitchen into a little constellation of flour dust and sparkles. It started as a playful challenge: combining my love for all things astrological with my knack for buttery sugar cookies. The aroma of vanilla and lemon started drifting through the house, and before I knew it, friends were peeking in just to see whether they'd get a golden star or a whimsical Gemini symbol. There’s something about hand-piping little cosmic patterns that makes time slow down and lets creativity take the lead. If your inner twin ever wanted to decorate each cookie differently, this is the recipe for you.
Last year, I baked these cookies for a friend’s zodiac-themed birthday and found myself huddled at the table with two others, all of us piping and laughing as we debated the best way to capture a twin’s duality in royal icing. We ended up dipping paintbrushes into shimmery gold and drawing constellations across our edible canvases, completely lost in the moment. There was flour in our hair, and the kettle whistling felt like background music to the fun. The memory of all those hands reaching for the sparkling stars still makes me smile. It turns out, decorating cookies with friends is one of those kitchen rituals that sneaks up and lingers with you.
Ingredients
- All-purpose flour: Sifting before measuring gives the cookies a lighter crumb—don’t skip this if you want that classic melt-in-your-mouth texture.
- Baking powder: Just enough is added for a gentle lift so the edges hold their shape when cut into stars and zodiac motifs.
- Salt: This touch sharpens the flavors and balances all the sweetness.
- Unsalted butter: Letting it fully soften means the dough mixes up silkier, and the cookies bake evenly.
- Granulated sugar: Creaming it until fluffy with the butter is where the magic begins for a delicate crumb.
- Large egg: Supports structure, binds the dough, and gives that beautiful golden color when baked.
- Pure vanilla extract: The aroma alone feels festive, and I always measure it with a generous hand.
- Lemon zest (optional): When you need brightness, zest brings a summery note—it’s worth the extra minute to grate fresh.
- Powdered sugar: Sifted so your icing is cloud-smooth and perfect for piping those tiny stars.
- Meringue powder: This is my trick for sturdy, quick-drying icing without risky raw eggs.
- Warm water: Add just enough for your piping to glide but still hold sharp details.
- Gel food coloring: Use in celestial shades—just a toothpick’s dab at a time so your stars don’t look unnatural.
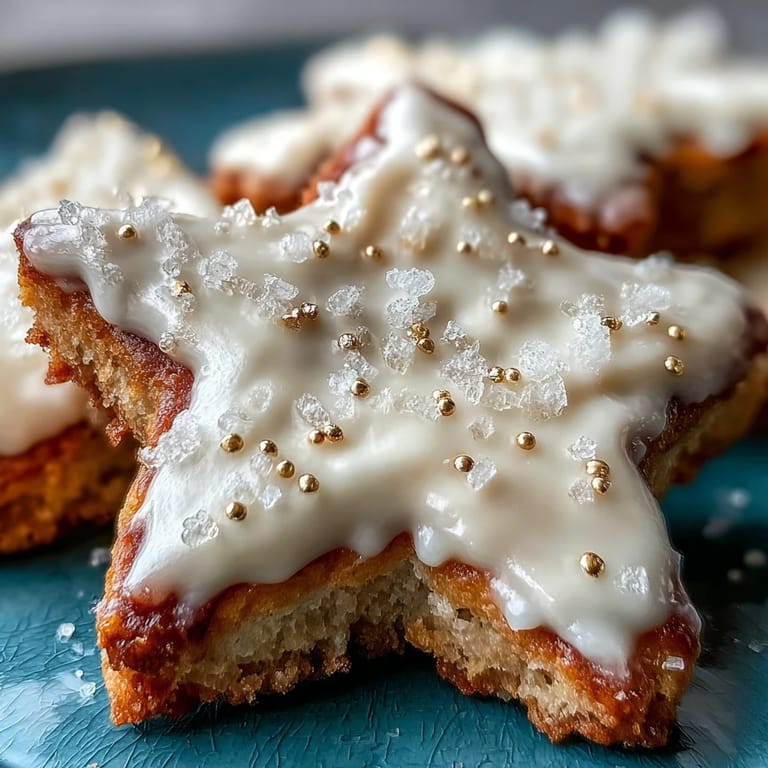
- Edible glitter or golden sugar pearls: Not required, but when you want cookies that look like they fell from the sky, it’s pure magic.
Tired of Takeout? 🥡
Get 10 meals you can make faster than delivery arrives. Seriously.
One email. No spam. Unsubscribe anytime.
Instructions
- Mix the dry ingredients:
- In a medium bowl, whisk together the flour, baking powder, and salt until everything looks evenly flecked—almost like stardust.
- Cream the butter and sugar:
- With your mixer on medium, beat the butter and sugar together until pillowy soft; listen for the change in sound as the mixture goes from grainy to fluffy.
- Add wet ingredients:
- Mix in the egg, vanilla, and lemon zest—don’t rush—it should smell fresh and fragrant before you go on.
- Combine to make dough:
- Slowly add your dry ingredients to the wet, scraping down the bowl as you go, until a soft dough forms and pulls from the sides.
- Chill the dough:
- Divide the dough in half, wrap each in plastic, and chill for at least 30 minutes; this extra patience means perfect shapes later.
- Preheat oven and prep pans:
- Heat your oven to 350 F and line baking sheets with parchment—trust me, this makes for easy cookie removal (and less cleaning).
- Roll and cut:
- Roll dough on a lightly floured counter to about quarter inch thick and have fun pressing out Gemini symbols or stars, spacing them apart on the trays.
- Bake:
- Slide the cookies into the oven and bake for 10–12 minutes, watching for the faintest golden edge as your cue to pull them out.
- Cool completely:
- Let them rest on the baking sheet for a couple minutes before moving them to a wire rack—this helps prevent sneaky breaks.
- Make royal icing:
- In a fresh bowl, mix the powdered sugar, meringue powder, and 3 tablespoons water, whisking until glossy; add more water drop by drop for the perfect piping consistency.
- Color and decorate:
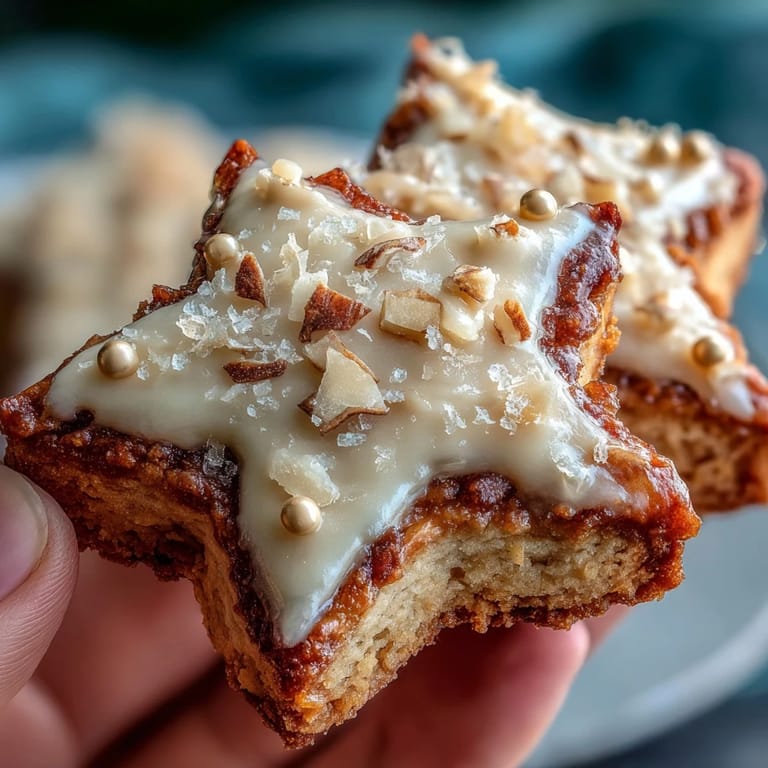
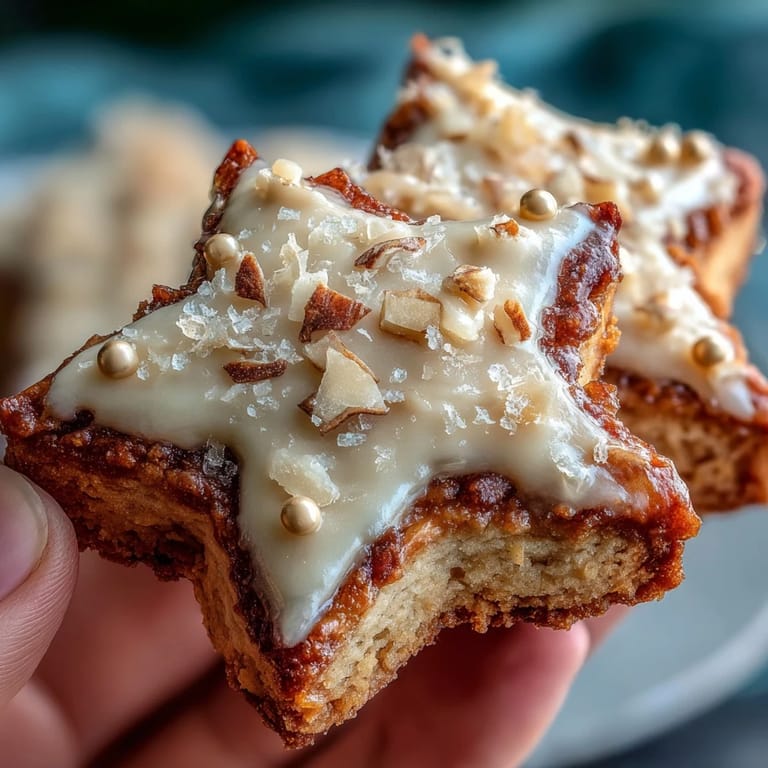
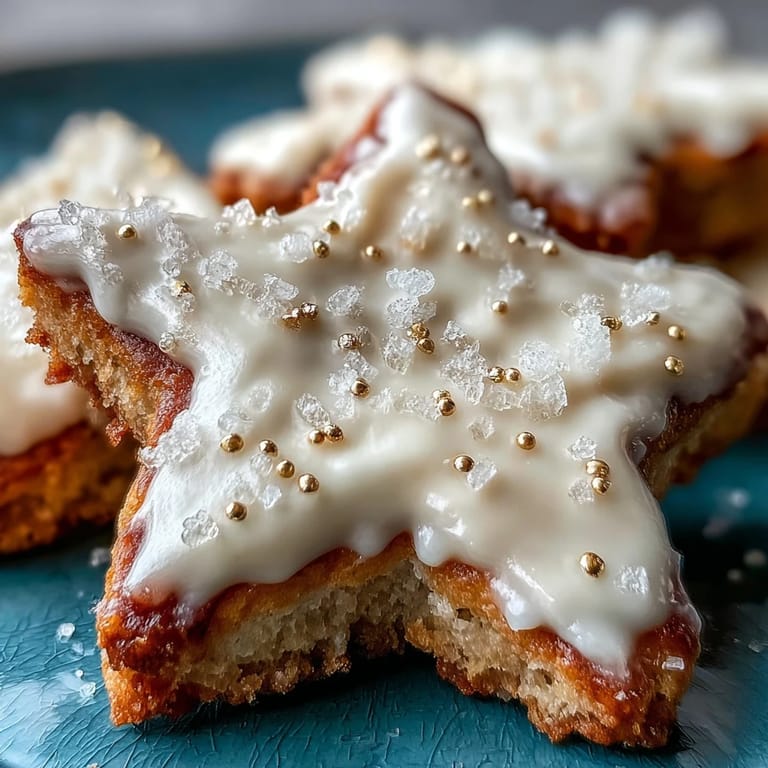
- Divide and tint your icing, then pipe stars, twins, zodiac glyphs, and finish with a flourish of edible glitter or gold pearls; let them dry until set before packing or serving.
 Pin it
  Pin it
 The first time I handed out these cookies decorated for a Gemini baby shower, the guests gasped at the shimmering stars—and I realized my baking had cracked a kind of kitchen code for turning a simple treat into a conversation piece. Sharing a platter stacked high with sugar cookie constellations ended up sparking stories about zodiac signs, birthdays, and favorite childhood snacks long into the afternoon.
Adapting for Any Occasion
One trick I’ve picked up: change the cookie cutter to match the mood, and suddenly the same recipe fits every season or celebration—stars at New Year, hearts for Valentine’s, or initials just because you’re thinking of someone special. Choose different gel colors for each event, and you’ll always have something unique and festive to share.
Making the Most of Royal Icing
Royal icing intimidated me until I learned you don’t need perfection—just a steady hand and a willingness to make a few ‘oops’ that turn into character. If the icing feels too thick, add the tiniest splash of water; too runny, just sift in a bit more sugar. Piping the first star feels like magic—by the fifth one, you’ll be searching the cookies for even more tiny details to add.
When You Need to Bake Ahead
Baking the cookies a day early works—just store them undecorated in an airtight container and ice them when you’re ready to channel your creative spirit. The royal icing itself will keep overnight, and you’ll appreciate spreading out the decorating in calm, unhurried batches. That way, each design gets the attention it deserves and you get to enjoy the process.
- If you want extra sparkle, dust edible glitter just after piping while the icing is still wet.
- Keep a damp paper towel over your mixing bowl of icing so it doesn’t crust while you work.
- Let iced cookies dry thoroughly before stacking or gifting—they’re worth the wait.
 Pin it
  Pin it
 Baking these Gemini Zodiac Cookies brings a little magic into the kitchen, whether you’re after cosmic conversation starters or just treating yourself to something playfully sweet. Here’s to baking a little of your own stardust into every batch.
Recipe FAQs
- → How do I keep cookies from spreading?
Ensure butter is softened but not melted, chill the dough for at least 30 minutes, roll to uniform 1/4 inch thickness, and avoid overworking the dough. Proper chilling firms the butter and helps maintain crisp edges during baking.
- → What consistency should the royal icing be for piping stars?
Start with about 3 tablespoons of water for 2 cups sifted powdered sugar and meringue powder; adjust until it holds a defined ribbon on the surface for piping (thick but smooth). Thin slightly for floods or details as needed.
- → Can I make components ahead of time?
Yes. Dough can be shaped into disks and refrigerated up to 48 hours or frozen. Icing can be prepared and refrigerated for up to 1 day; bring to room temperature and rewhisk before use for consistent piping.
- → How do I get bright, even color in the icing?
Use gel food coloring for concentrated hues without adding liquid. Mix thoroughly for an even shade, and let colored icing rest briefly to remove air bubbles before filling piping bags for smooth application.
- → Any tips for crisp vs. soft cookie texture?
Bake 10–12 minutes; bake a minute longer for crisper results or slightly less for a softer center. Thinner rolling and longer bake yield crisper cookies, while a shorter bake and slightly thicker dough keep them tender.
- → How should I store and transport decorated cookies?
Allow icing to set completely, then layer cookies in an airtight container with parchment between layers. For gifting or transport, keep flat and avoid stacking until icing is fully hardened to prevent smudging.