 Pin it
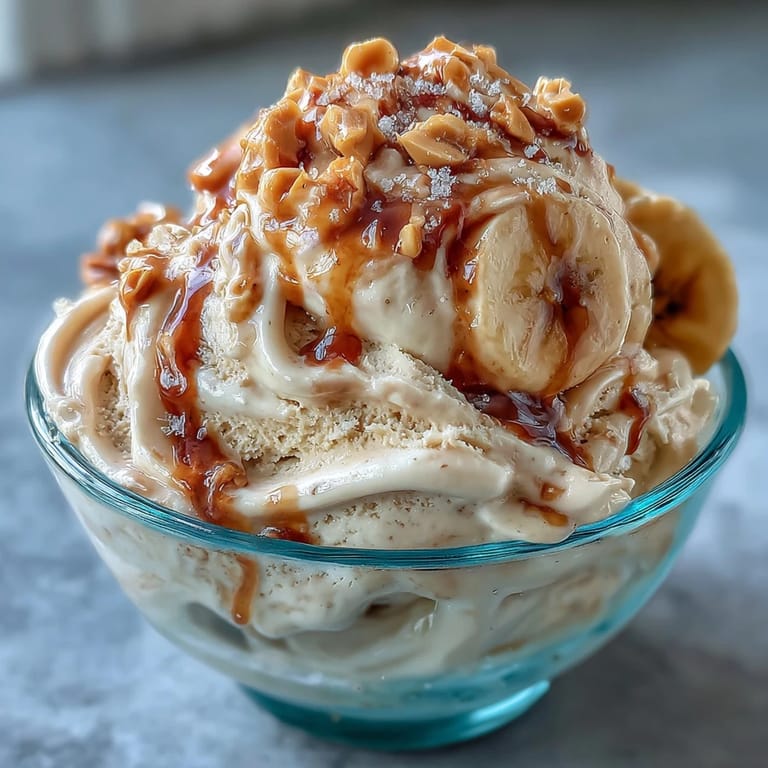
 When summer temperatures pushed my little kitchen thermometer close to boiling, I found myself craving something cold and indulgent—without adding to the heat. One lazy afternoon, a forgotten bunch of bananas on the counter invited experimentation. The faint aroma of ripening fruit, paired with an impulsive spoonful of peanut butter, sparked this recipe. I had no expectations except to avoid turning on the oven, but what emerged was a shockingly creamy ice cream with just four familiar ingredients. Even the hum of the blender felt like the prelude to a treat worth lingering over.
The first time I made this, two friends dropped by unexpectedly as the bananas finished freezing. With music playing and the scent of peanut butter in the air, we crowded around my tiny counter, trading stories as the blender did its magic. Spooning the finished ice cream into mismatched bowls, we agreed no store-bought pint could compete with the homey flavor right then and there.
Ingredients
- Ripe Bananas: Let them get speckled—those brown spots signal rich natural sweetness and a creamier base.
- Creamy Peanut Butter: Smooth peanut butter blends easiest; a quick stir before measuring helps prevent sticky surprises in the blender.
- Maple Syrup (or Honey): Maple syrup brings subtle caramel notes, but a touch of honey makes the final dessert slightly floral if that’s what you prefer.
- Vanilla Extract: A splash draws out deeper sweetness and adds a bakery-warm aroma, elevating every bite.
Tired of Takeout? 🥡
Get 10 meals you can make faster than delivery arrives. Seriously.
One email. No spam. Unsubscribe anytime.
Instructions
- Prep the Bananas:
- Scatter sliced bananas in a single layer on a parchment-lined sheet, nestling them so none stick together, and freeze until solid—this makes for ultra-creamy blending.
- Combine Everything:
- Tip the frozen banana, peanut butter, maple syrup, and vanilla into your food processor or blender—listen for the first whoosh as everything starts to break down.
- Blend Until Creamy:
- Process until the mixture is beautifully smooth, scraping down the sides once or twice if thick bits cling, and marvel at the instant transformation.
- Choose Your Texture:
- If you can't wait, serve now for soft-serve delight; for classic scoopable ice cream, spread into a loaf pan and allow to firm up in the freezer for another hour or two.
- Serve It Up:
- Using a warm scoop or spoon, dish out generous portions—don’t be surprised if it vanishes faster than you expected.
 Pin it
 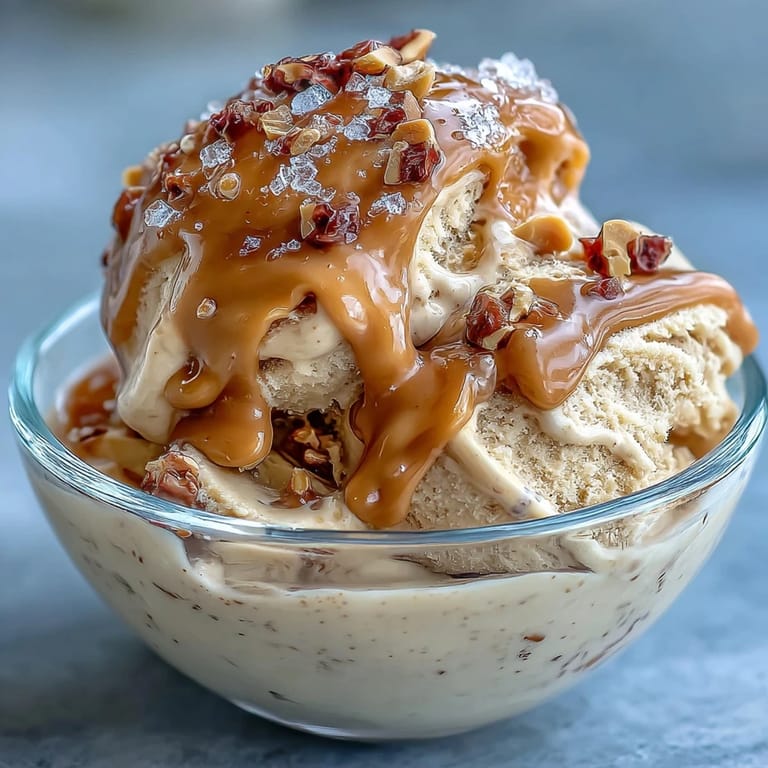 Pin it
 On a cloudy day last fall, I scooped a few servings after a quiet dinner, and someone commented it tasted like sunshine in a bowl. It struck me that no matter the season, there’s something comforting about transforming ripe fruit and peanut butter into a homemade treat worth sharing.
Fun ways to dress it up
One of my go-to moves is folding a handful of mini chocolate chips or toasted nuts into the softened ice cream before its final freeze. The contrast of smooth and crunchy is unbeatable. If you feel playful, swirl in a ribbon of raspberry jam, or sprinkle cinnamon as it blends. Every addition changes the story and makes it your own.
Making it allergy-friendly
Over time I learned to swap in almond or cashew butter without missing a beat whenever friends with peanut sensitivities were over. Just be sure to check the labels of any nut butters or add-ins, especially for guests with allergies. This flexibility makes the recipe a welcoming option at any gathering.
My best freezing and serving tricks
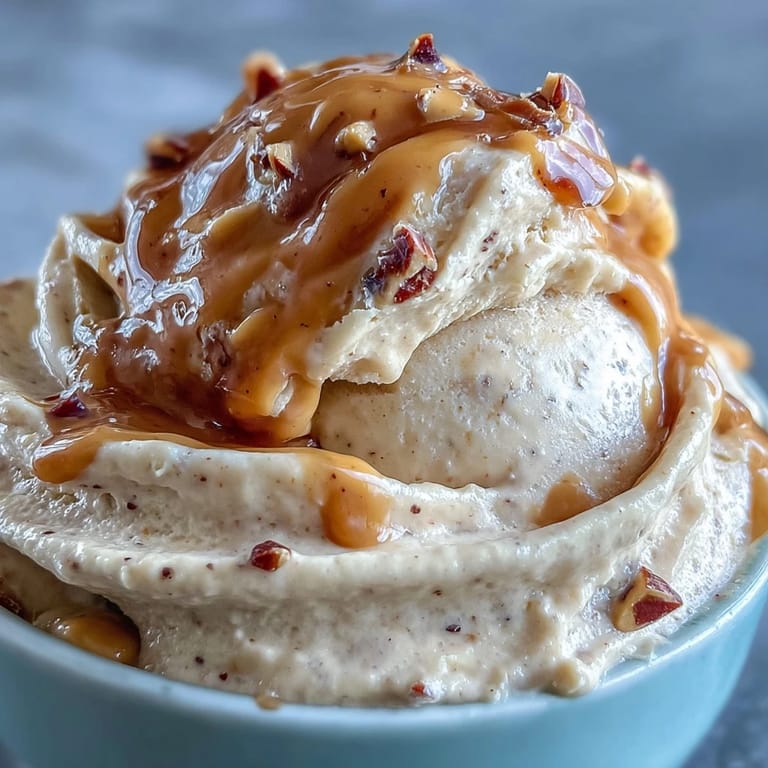
Scooping straight from the freezer can be a challenge—let it rest on the counter for about five minutes to soften for perfect portions. If extra creamy texture is your goal, press a piece of parchment atop the surface before re-freezing to banish any icy crystals. I always keep a stash of bowls and spoons in the freezer to give each serving a frosty chill.
- Add toppings right before serving for best crunch.
- A drizzle of melted chocolate turns a simple scoop into dessert party fare.
- Clean your blender promptly—it helps avoid sticky cleanup later on.
 Pin it
  Pin it
 However you dress it up or share it, this ice cream is proof a little creativity and a handful of ingredients can cool down even the busiest of days. Let each batch reflect your favorites—and never underestimate the power of a ripe banana.
Recipe FAQs
- → How do I achieve a smooth, creamy texture?
Freeze bananas until fully solid, then pulse in a food processor or high-powered blender, scraping down the sides. A short pause and a few more blends yields a silky finish. If the mix is thick, add a teaspoon of plant milk to loosen and blend until smooth.
- → Can I use crunchy peanut butter instead of creamy?
Yes. Crunchy peanut butter will add texture and small nutty bits. For the smoothest base, use creamy peanut butter and fold crunchy bits in at the end before the final freeze.
- → How do I make it scoopable rather than soft-serve?
After blending, transfer the mixture to a loaf pan, smooth the top and freeze for 1–2 hours. Let sit 5–10 minutes at room temperature before scooping to soften slightly for cleaner portions.
- → What can I substitute for peanut butter?
Almond or cashew butter work well and yield a milder, nuttier flavor. Texture may vary; you might need to adjust sweetness or add a touch more nut butter to reach the same creaminess.
- → How should I store the finished dessert to prevent freezer burn?
Use an airtight, freezer-safe container and press a layer of plastic wrap directly onto the surface before sealing. Store in the back of the freezer where temperatures are most stable and consume within 1–2 weeks for best quality.
- → When should I add mix-ins like chocolate chips or nuts?
For even distribution, fold mix-ins into the blended base just before transferring to the pan for the final freeze. Large chunks can also be sprinkled on top before freezing for a crunchy surface layer.